|
|
|
|
|
|
|
|
|

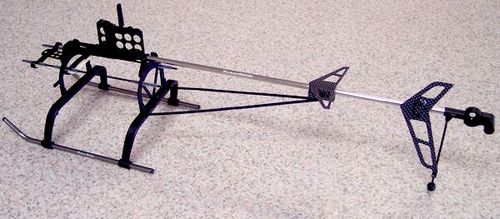
Installing a SuperBoom
|
This is just one method of removing a stock tail boom from the frame and tail housing assembly. We're not recommending this method over others, just pointing out that this method works on stock tail booms that are glued into the frame and tail housing at the factory with CA glue and can't be removed by using a liquid "debonder" made to release the CA bond. If your tail boom is secured by set screws, then it's not glued and you don't need these steps. If you follow this procedure, you may ruin your frame or tail housing and will have to buy new ones. Care should be taken that you don't injure yourself ! |
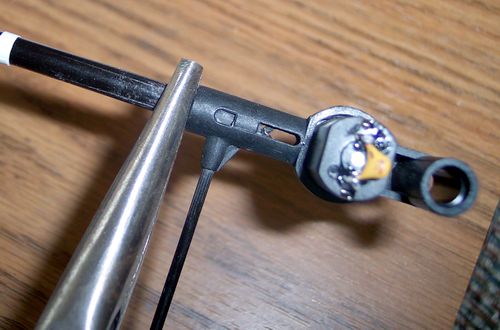
| Unsolder the wires from the tail motor and pull them through the boom. It's also recommended that you remove the tail motor from the tail housing (although it's not done in some of these pictures). Use pliers to crack the stock carbon fiber tail boom. Rotate the pliers all the way around the boom, cracking it in several places around its circumference.
NOTE: you can use a small hacksaw or razor saw to cut the boom flush with the frame or tail housing IF you've managed to fully remove the tail motor wires beforehand. Otherwise, use the pliers. About 40% of the time, I've found that while cracking the boom with pliers, I was lucky and some of the boom inside the housing was also splintered and was removed when I broke the boom free (see picture below). This made cleaning out the hole a bit easier. |
|
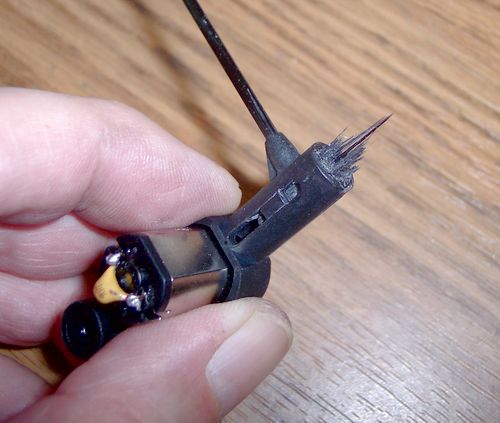
When the CF boom is cracked, it will splinter and can be broken off as shown above. |
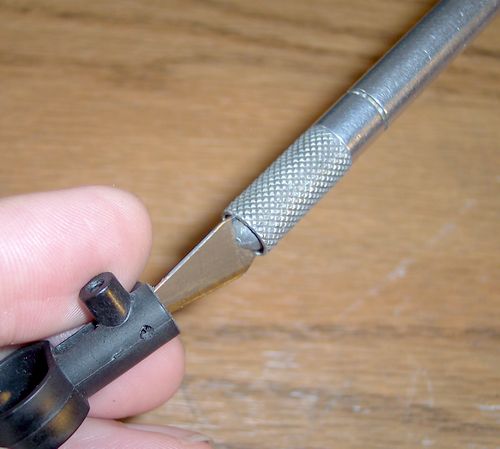
| Clean out the splintered boom with pliers, a hobby knife (as shown) or a screwdriver or any other suitable method. You want the remains of the old tail boom to be flush with the hole so you can start the drill bit in the next step. |

|
Use a 3/16" drill bit to clean out the hole. You can use a drill, pin vise, or rubber mat to hold the drill bit. The blue mat in the above picture is made for opening jars, but it works great for holding the drill bit. If you use an electric drill, the job will go faster, but there's also a bigger risk that you'll damage the frame or tail housing. Once you've cleaned the hole with the 3/16" bit, use a 5mm bit to enlarge it. If you don't have a 5mm bit, you can wobble the 3/16" bit to enlarge the hole. Don't make it too big. You want a fairly snug fit. |
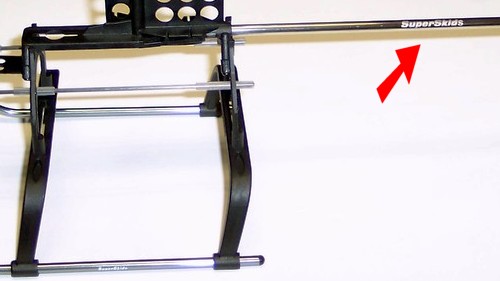
| Run your tail motor wires through the frame and SuperBoom. The SuperSkids logo is designed to be near the frame. Make sure the logos on each side of the boom are level, put a couple drops of CA glue on the end of the boom and push it into the frame. Slide the tail motor wires back and forth a couple times to make sure you didn't accidentally glue them, and let the glue dry for a few minutes before you install the tail motor housing. |
|
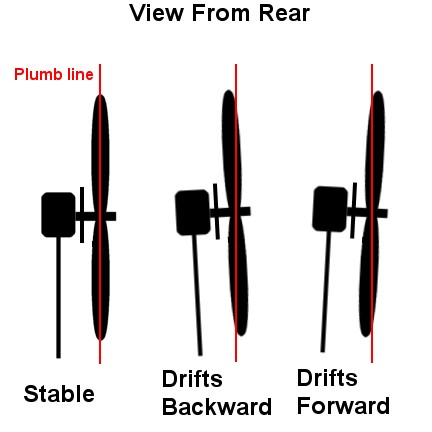
When you install the tail motor housing, you want to make sure it's plumb. The rotor shaft should be perpendicular (90°) to the main rotor shaft. Put another way, the tail rotor should be parallel to the main rotor shaft, plumb to the ground. Unless you're an experienced pilot with a reason to do so, never have the tail housing rotated clockwise (drifts forward), and never have it rotated more than 1° counter-clockwise (drifts backward). |